Tutorial
This is a step-by-step guide to learn how to install and use django-tables2 using Django 2.0 or later.
pip install django-tables2Start a new Django app using
python manage.py startapp tutorialAdd both
"django_tables2"and"tutorial"to yourINSTALLED_APPSsetting insettings.py.
Now, add a model to your tutorial/models.py:
# tutorial/models.py
class Person(models.Model):
    name = models.CharField(max_length=100, verbose_name="full name")
Create the database tables for the newly added model:
$ python manage.py makemigrations tutorial
$ python manage.py migrate tutorial
Add some data so you have something to display in the table:
$ python manage.py shell
>>> from tutorial.models import Person
>>> Person.objects.bulk_create([Person(name="Jieter"), Person(name="Bradley")])
[<Person: Person object>, <Person: Person object>]
Now use a generic ListView to pass a Person QuerySet into a template.
Note that the context name used by ListView is object_list by default:
# tutorial/views.py
from django.views.generic import ListView
from .models import Person

class PersonListView(ListView):
    model = Person
    template_name = 'tutorial/people.html'
Add the view to your urls.py:
# urls.py
from django.urls import path
from django.contrib import admin

from tutorial.views import PersonListView

urlpatterns = [
    path("admin/", admin.site.urls),
    path("people/", PersonListView.as_view())
]
Finally, create the template:
{# tutorial/templates/tutorial/people.html #}
{% load render_table from django_tables2 %}
<!doctype html>
<html>
    <head>
        <title>List of persons</title>
    </head>
    <body>
        {% render_table object_list %}
    </body>
</html>
You should be able to load the page in the browser (http://localhost:8000/people/ by default), you should see:
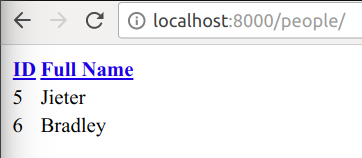
This view supports pagination and ordering by default.
While simple, passing a QuerySet directly to {% render_table %} does not
allow for any customization. For that, you must define a custom Table class:
# tutorial/tables.py
import django_tables2 as tables
from .models import Person

class PersonTable(tables.Table):
    class Meta:
        model = Person
        template_name = "django_tables2/bootstrap.html"
        fields = ("name", )
You will then need to instantiate and configure the table in the view, before adding it to the context:
# tutorial/views.py
from django_tables2 import SingleTableView

from .models import Person
from .tables import PersonTable


class PersonListView(SingleTableView):
    model = Person
    table_class = PersonTable
    template_name = 'tutorial/people.html'
Rather than passing a QuerySet to {% render_table %}, instead pass the
table instance:
{# tutorial/templates/tutorial/people.html #}
{% load render_table from django_tables2 %}
<!doctype html>
<html>
    <head>
        <title>List of persons</title>
        <link rel="stylesheet" href="https://maxcdn.bootstrapcdn.com/bootstrap/3.3.7/css/bootstrap.min.css" />
    </head>
    <body>
        {% render_table table %}
    </body>
</html>
This results in a table rendered with the bootstrap3 style sheet:
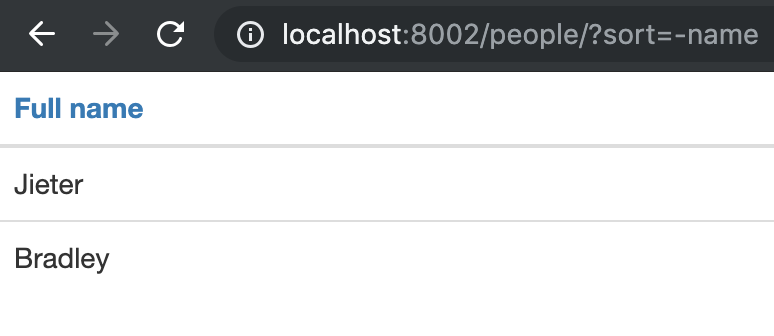
At this point you have only changed the columns rendered in the table and the template. There are several topic you can read into to further customize the table:
- Table data
- Customizing the rendered table
If you think you don’t have a lot customization to do and don’t want to make
a full class declaration use django_tables2.tables.table_factory.